ClickFunnels Alternative That Will Save You $267 Every Month
Have you ever wondered if it’s possible to easily build high converting funnels for your business without shelling out $300/mo?
Right now, that’s the monthly subscription price for ClickFunnels.
That’s $3,600/year right?!
Now…would I pay $3,600/year if it made me $200,000? All day long.
But would I be interested in a 75% discount and still making the $200k? YEP!
Best ClickFunnels Alternative
Now, let me ask you a question…
Would you be interested in learning how you can easily replace ClickFunnels for just $769/year? That means you’d be pocketing nearly $3,000 in savings!
What could you do with an extra $3,000?
Invest in more advertising? Give someone on your team a raise? Take a nice vacation?
In this article I’m going to walk you step by step through the simple process that any business can use to replace ClickFunnels and start putting more money back into their business immediately.
Congratulations! You have stumbled across a gold mine. Let’s dig in…
First, let’s make sure we’re all on the same page and define what we mean by FUNNEL ok? You’ve probably had a ton of buzzwords thrown at you so this part will be quick but it’s important.
A funnel is simply a process by which a sale or other conversion is made. That’s it.
A “Webinar Funnel” is process to bring people into a webinar and then follow up with them to make a conversion.
A “Self Liquidating Offer Funnel” is a process to bring in a customer then use one click upsells to cover your ad costs.
“Funnels” have been around as long as business and commerce have existed. But the cool thing for you and me about building funnels today, is we have access to tools and technology that make the process of converting someone into a customer or lead so much easier and affordable.
And with that, I want to shift our conversation to the tools and technology you will need to replace ClickFunnels and start saving some serious cash.
Here’s a list of everything you will need to replace ClickFunnels:
| Resource | Cost |
| 1. A WordPress website with WooCommerce installed | FREE |
| 2. One Click Upsells for WooCommerce | $299/yr |
| 3. Handsome Checkout | $97/yr |
| Total Annual Investment | $396 |
| Annual Cost of ClickFunnels | $3,600 |
| Total Annual Savings | $3,204 |
*note: Below I am using the page builder Thrive Themes. This is completely optional. You can use a theme like Genesis or any other well supported theme for WordPress/WooCommerce. You can also use other page builders like Elementor Pro, Beaver Builder, Optimize Press, etc…
You will also need an SSL certificate since you’re going to be taking payment on your site. You can purchase this from your web host.
Let’s build a funnel!

For this example, we’re going to build a Free + Shipping funnel that has two upsells. The first product will be a book and we’ll have two one time offers (OTO’s) after purchase. Here is the flow:
How to Build a Free + Shipping Funnel Without ClickFunnels
Step 1: Create Three Pages
For this funnel I’m using Thrive Themes for my three pages. As I mentioned above, a page builder like Thrive Themes is completely optional. The process will be the same no matter what theme or tool you use to create your pages.
Here are the three pages we need:
- The Sales Page
- The First OTO Page
- The Second OTO Page
Here’s what that looks like.
- Create Your Page in WordPress
- Open Your PageBuilder
- Choose the Template for Your Sales Page
- Edit Your Sales Page
This is the process for creating a sales page in Thrive Themes. To create your pages for your first and second OTO pages the process is identical.
Further down I will show you how to set up your upsell and downsell pages.
But now that we have our sales page, we’re ready for our next step.
Step 2: Handsome Checkout with Order Bump
Handsome Checkout lets you create beautiful checkout pages that convert in about a minute. Remember we’re using a WordPress site with WooCommerce? WooCommerce is owned by WordPress and is FREE.
Most people don’t realize how much you can do with WooCommerce. You don’t have to be an eCommerce business to use it. In our scenario we are only using WooCommerce to create our product (physical or digital) and set the price. That’s it. Handsome Checkout will do the rest.
Handsome Checkout integrates with WooCommerce and you can start building checkout pages for your products immediately.
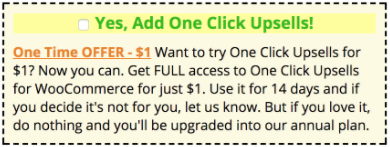
You also have the option to add an Order Bump on every checkout page. Having an Order Bump on your checkout page is a great way to increase your Average Order Value (AOV). Order Bumps are available on any Handsome Checkout template and as you can see below, there are several different templates to choose from.
Ex: Order Bump

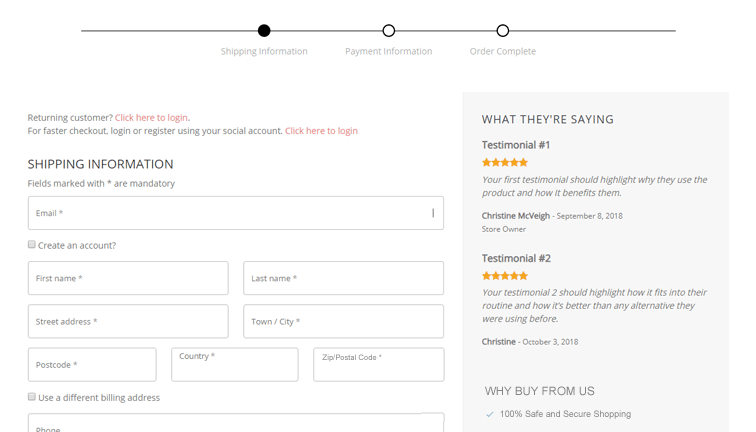
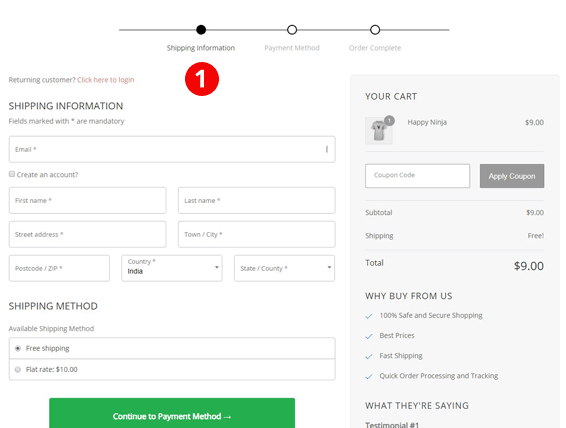
Ex: Handsome Checkout Templates

For this example we’re going to use the WooCommerce embedded checkout form option inside Handsome Checkout.
With this option you can embed a WooCommerce checkout form on any WordPress page.

So let’s go back to the sales page we created above and add our checkout form. First though we need to create our checkout form.
Clickfunnels Alternative WordPress Plugin
Here’s what that looks like:
- Create Your Form in Handsome Checkout for Your Product
You will use the shortcode created below to embed your form on ANY WordPress page. - Select Your Order Bump
- Customize Your Form
- Add Your Form to Your Sales Page
You will drag the WordPress element in your page builder to the spot on your page where the checkout form will go. - Add the Shortcode
- Click Save and Take a Look at Your Form
Your Order Bump will be shown on Step 2. But you can see how easy it was to turn any page on your site into a page that can receive orders.
Are you starting to see how cool this is?!
Well, we haven’t even gotten to the best part yet. The next step is where you can make some serious cash.
Step 3: One Click Upsells
Adding post purchase One Click Upsells to your funnels is one of the most profitable steps you can take in your business. It’s 10 times easier to sell to an existing customer than it is to acquire a new one. And it doesn’t matter if that person just became a customer 5 seconds ago!
They have already decided that you are someone they can trust. After all, didn’t they just enter their credit card information?
Ok – now let me show you how to set up those two one time offers.
Setting Up Your One Time Offers
- Create Your Funnel and Identify Your Trigger Product.
Inside One Click Upsells, when you click “Create Checkout Funnel” you’ll see a screen like the one below. You simply choose which product or products will trigger your upsells. In the screenshot below we’re choosing our “trigger product.” - Create Your Upsell and Downsell Funnel
Once you’ve selected your trigger product, you need to determine what your customer sees next. In the screenshot below you can see we’re setting up our first offer. But we’re also deciding what happens if the customer makes a purchase or says “no thanks.” This is like having your customer choose their own adventure based on how they respond. You can also offer a discount. Right now the price is at 100% which is full price. But you can change that to any price you like. - Copy Your Shortcodes
You’ll use shortcodes to turn your button and/or text links into a one click “BUY” or “No thanks” option. I’ll show you how to do that in the next step. But I wanted you to see exactly where you go to get these codes.
Now that our OTO structure is in place, we’ll add it to our OTO pages. Here’s how that happens.
Setting Up Your OTO Pages
I’ve already created two pages using the same process we covered in Step 1.
- Open Your First OTO Page
- Drag WordPress Element to Use for Your Buy Button
- Enter Shortcodes from One Click Upsells
- Save
You will repeat this process for your second OTO page as well as any others you choose to create.
Now that we have all the pieces in place, we need to test.
Step 4: Test Your Funnel
I include testing as a step because you would be surprised how many people put out an offer without testing to make sure that everything is working. Testing your funnel is quick and easy. Plus it can save you time and money if you find you forgot something.
I want you to be successful…so test. Here’s how you do a test purchase.
- Go to WooCommerce > Settings > Checkout
- Select Your Payment Gateway and Check the Testing Box
You can now make test purchases on your site to make sure everything is working.
PRO Tip: Set up a staging site that’s identical to your live site so you can test everything there first. Here is the tool I recommend for setting this up.Hidden Content
Want to Build Other Funnels Too Using this Same Process?
There you have it. I just showed you how to build a Free + Shipping Funnel using tools that are a fraction of the cost of ClickFunnels. PLUS they’re well supported.
To understand how to build an effective sales funnel, Click here
QUESTION: Are you interested in learning how to build other funnels?
I’m doing a live training this week where I’ll show you how to use these same tools to build a three core funnels every business should be using. We’ll go for about 45 minutes and I’d love to have you join us.
BONUS: I’ll also show you how to add affiliate management to the mix if that’s an important part of your business.
The cool thing about everything I just showed you and will show you on the webinar, is anyone can do this. You don’t have to be super technical. And obviously the price is ridiculously good.

